Introduction to 11th Generation PowerEdge Servers
Contents
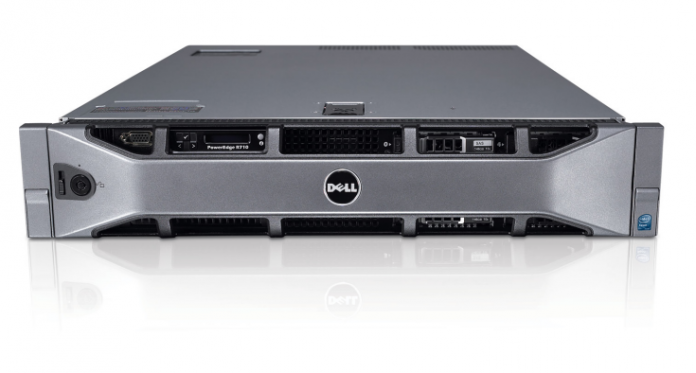
Dell released the PowerEdge R710 range of servers in 2009. It has been 11 years now. 11 years is a very long time in the world of digital technology. A lot has changed since 2009.

R710 was the 11th Generation of Dell Servers. To proof the time-lapse further, the current generation of servers being actively sold by Dell is the 14th generation.
The amount of quality work put into building service means that the 11th generation servers are still very good as of today. They are still fully capable of handling intensive tasks – for all intents and purposes especially where they have been well-maintained. A lot of them are still in active use in data centres across the world.
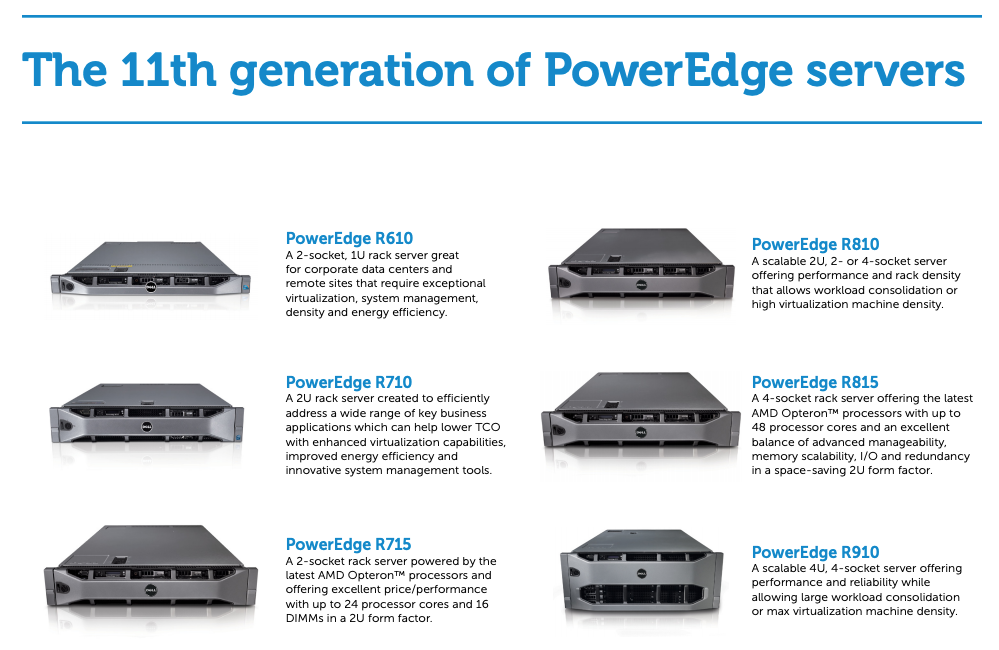
The scope of this article goes beyond the Dell PowerEdge R710. R710 is only being used as an example. The ideas and tips to be shared are applicable to all the 11th generation range of PowerEdge servers.
These include the:
- rack servers like R210, R310, R410, R510, R610, R810 and R910
- as well as the tower models like T410, T610, and T710.
The Challenges
The unfortunate part is that Dell has long stopped supporting 11th generation PowerEdge servers.
Over the years some critical parts of these servers have become increasingly difficult to use as support has reduced. An example is the Virtual Terminal and Virtual Console since most modern web browsers no longer support Java applets natively. The 11th generation of PowerEdge servers was built to rely on Java for these remote management functionalities.
Since the servers are still capable of handling workloads, it is important that one can find a way to still breathe life into the servers and keep on maintaining them.
This article shares means and ways of getting around the numerous challenges that come with using the 11th generation PowerEdge servers today.
The Solutions
There are still solutions to the various challenges that have popped-up with using the 11th Generation of Dell PowerEdge servers.
System Updates: Firmware, Drivers and BIOS
Making use of the best system software helps with not only securing the hardware but enjoying new features and improved functionality.
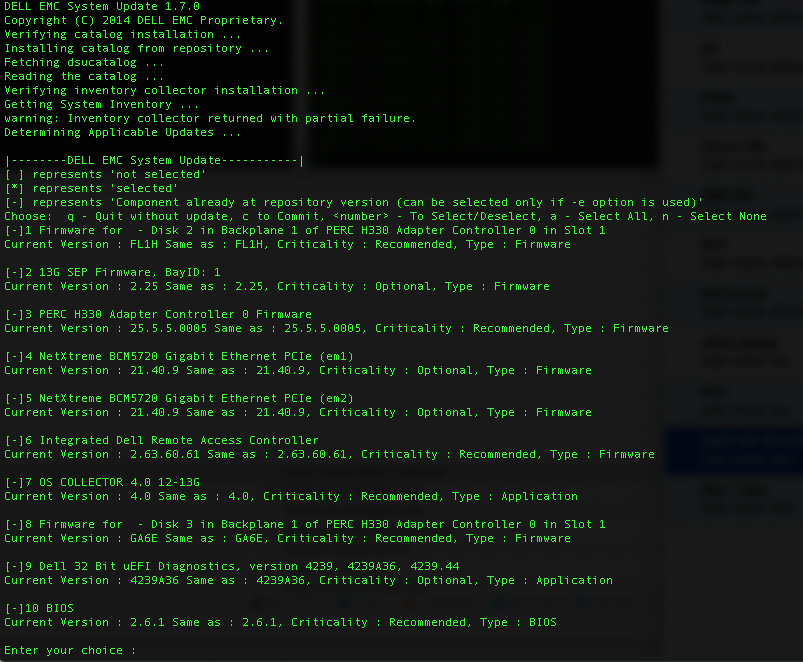
Ideally, these are updated via LifeCycle Controller where the server connects to ftp.dell.com for updates. This has stopped working. The best solution would be to install CentOS (even if you planned to deploy some other OS) on the server and then install Dell System Update (DSU).
From CentOS, you need to start by configuring the Dell repository.
To configure the repository, use the following commands:
# curl -O https://linux.dell.com/repo/hardware/dsu/bootstrap.cgi
# bash bootstrap.cgi
Note: Consent is required prior to installing public keys on target systems.
Install DSU
To install DSU using the repository, use the following command.
# yum install dell-system-update
You can then run the following commands to update the server system to the latest versions.
# dsu --inventory
# dsu

Once you are happy with the updates, you need to reboot the server. You may then install the OS you plan to keep.
Virtual Terminal and Virtual Console
It is sometimes necessary to access the server via Virtual Console, where network access to the Operating System via SSH or RDP is lost.
It has become increasingly harder (but not impossible) to access Virtual Console on these servers. The native method designed by Dell was to use a Java applet. The world has moved on from Java. Most modern web browsers don’t support the applets any more. When you attempt to open the Virtual Console from within Dell iDRAC 6, the applet file would only be downloaded to your computer with no means to open and run it.
Virtual Console – Solution #1
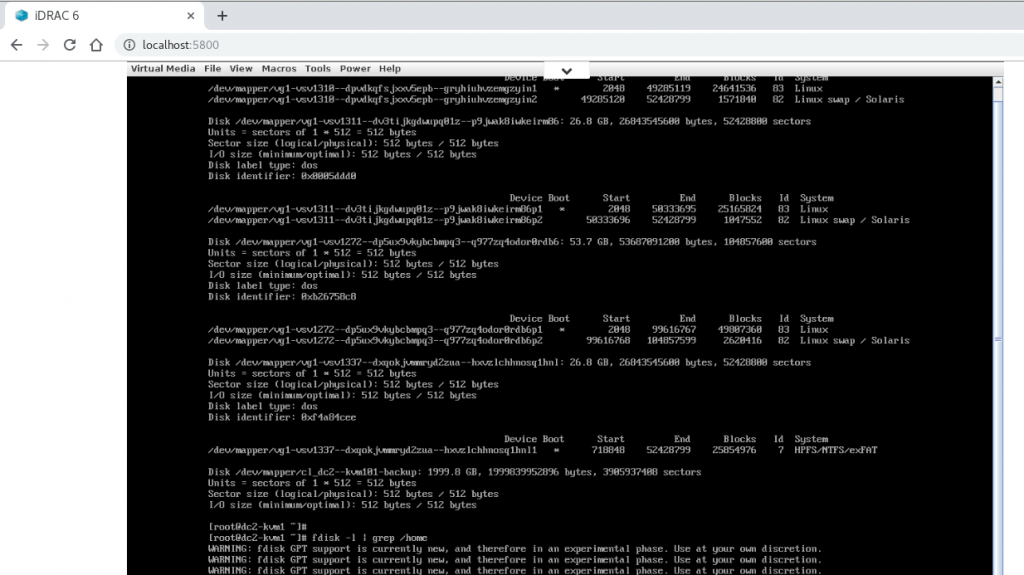
The best option so far is a dockerized solution offered by “domistyle” which is also published on GitHub. It allows access to the iDRAC 6 console without installing Java or messing with Java Web Start. Java is only run inside of the docker container and access is provided via a web interface or directly through VNC.
You need to run the following command on the server hosting the docker. The iDRAC Host, User and Password need to be changed before running it.
docker run -d -p 5800:5800 -p 5900:5900 -e IDRAC_HOST=idrac1.example.org -e IDRAC_USER=root -e IDRAC_PASSWORD=1234 domistyle/idrac6

You can then manage the server remotely through the GUI with relative ease.
Virtual Console – Solution #2
This option is less safe and risky.
Firefox had always played nice with iDRAC 6 Virtual Console – until the recent versions stopped supporting Java applets. Thus, you can keep an older version of Firefox. Firefox 62 works. Upgrading to the latest version of Firefox will result in a loss of this feature.
One can mitigate the risk that comes with this option by installing this older version of Firefox on a virtual server with an Operating System GUI access that can only be booted when necessary.
Internet Explorer doesn’t work with iDRAC 6. Google Chrome works but doesn’t support the virtual console/media.
It is worth noting that the newer generation of servers (12th and newer) support HTML5 for Virtual Console and Virtual Media access. This makes it very convenient for accessing these features from virtually any modern web browser, without any extra browser plugins being required.


